How to Make a Pop-Up Skull

Want to know how to make a pop-up skull? Follow these twenty steps, and you can make your own. When you’re finished, you can put it on display or make it into a card. Make sure you tell you’re friends how to make a pop-up skull as well.
Materials you will need
200gsm card – either A4 or A3
Scissors, or a scalpel and ruler
Double-sided tape or glue
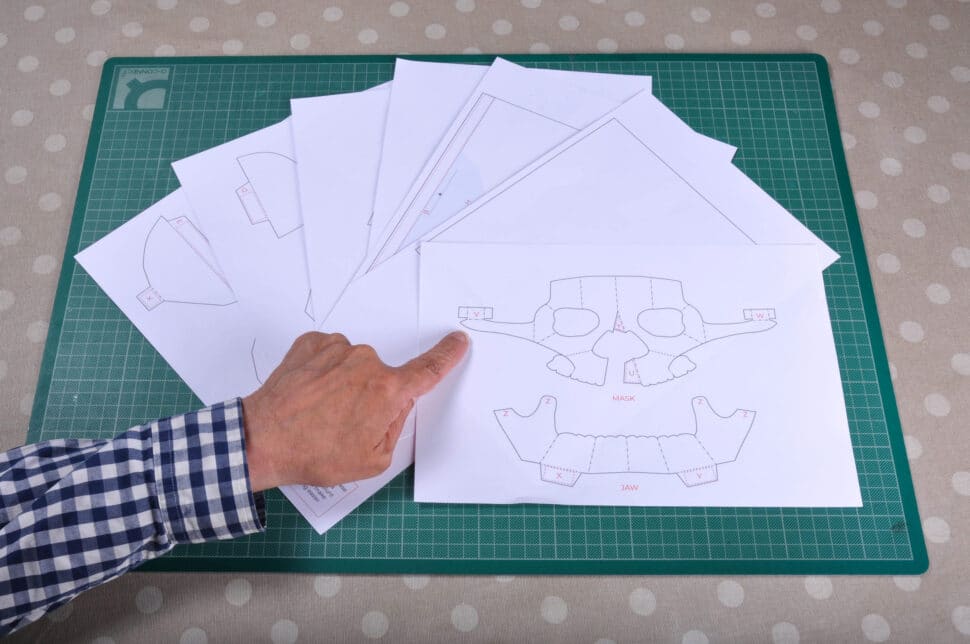
1. Print
Print out either the A4 or A3 template using the links above. We recommend you use thick card (200gsm).
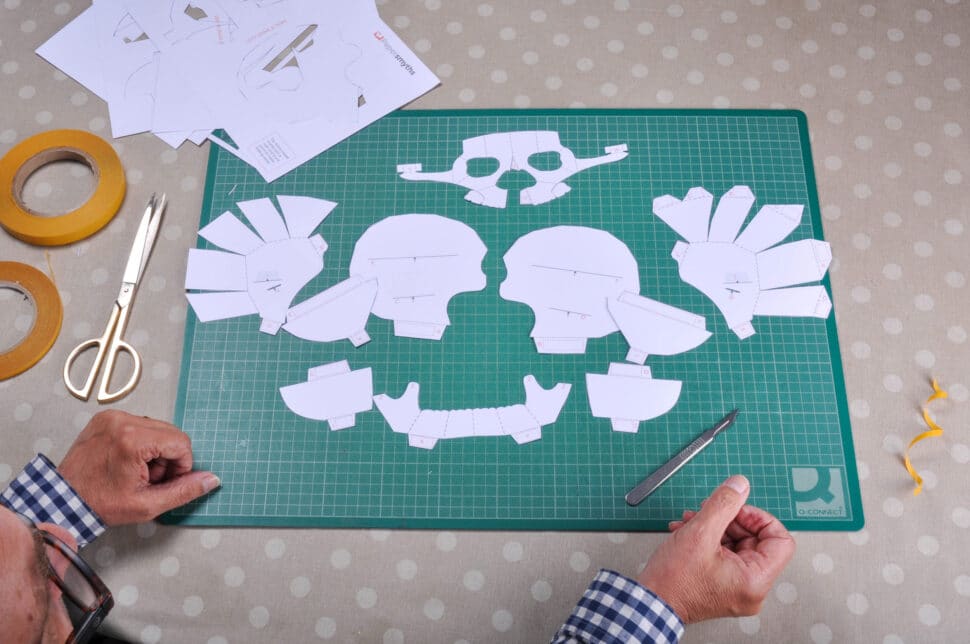
2. Cutting the Pieces
Cut around the solid black lines to remove each piece from its sheet. We recommend doing this with a scalpel and a cutting board. However, if you don’t have these, carefully cut around the black lines with scissors. Note: if you are using a scalpel, cut straight lines with the aid of a ruler.
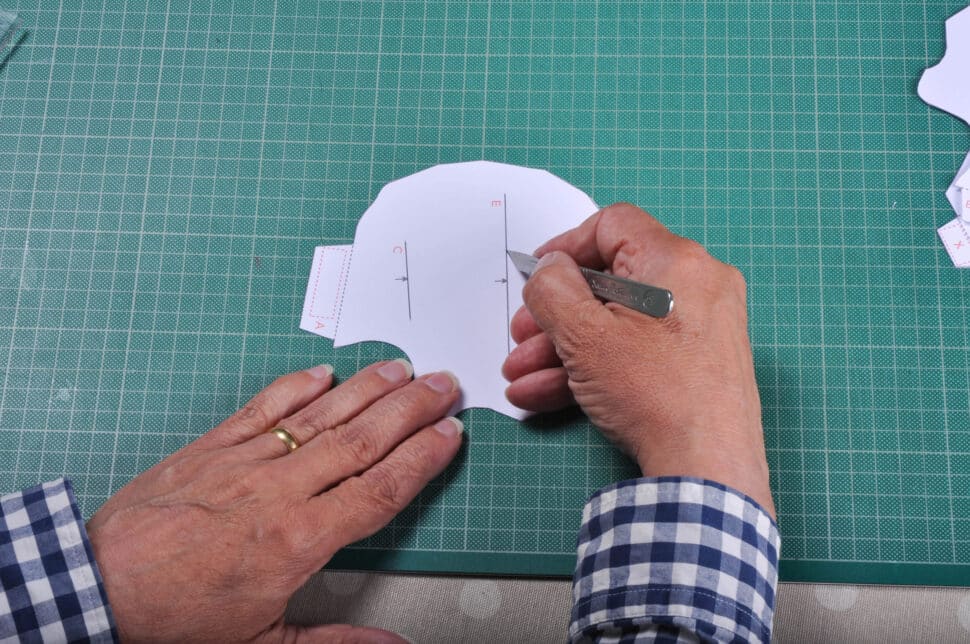
3. Cutting all of the Black Lines
Make sure you cut all of the black lines. Some will create slots you will use later. If you are using scissors, you might have to fold the piece slightly in order to create the cut.
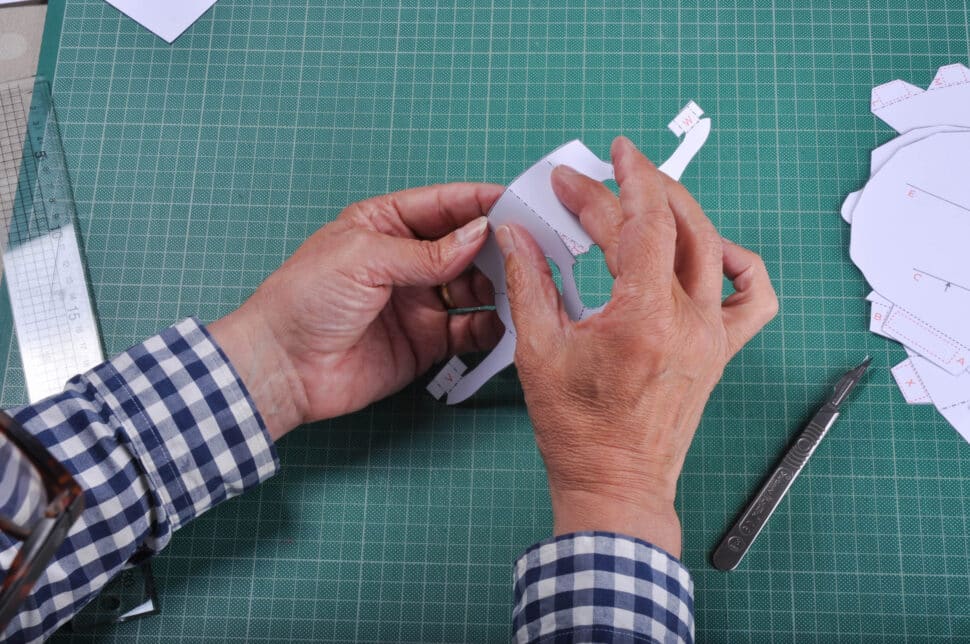
4. Folding
Identify the two types of non-solid black line: dotted lines and dot-and-dash lines. Dotted lines represent valley folds. Dot-and-dash lines represent mountain folds. Fold every piece according to these lines.
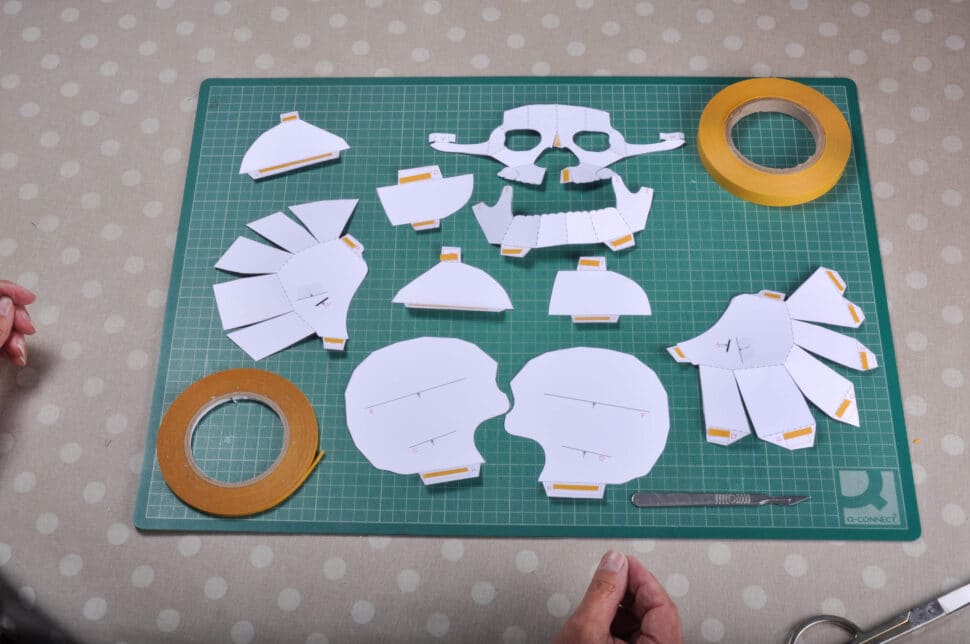
5. Taping
Stick double-sided tape on the areas marked with dotted red lines.
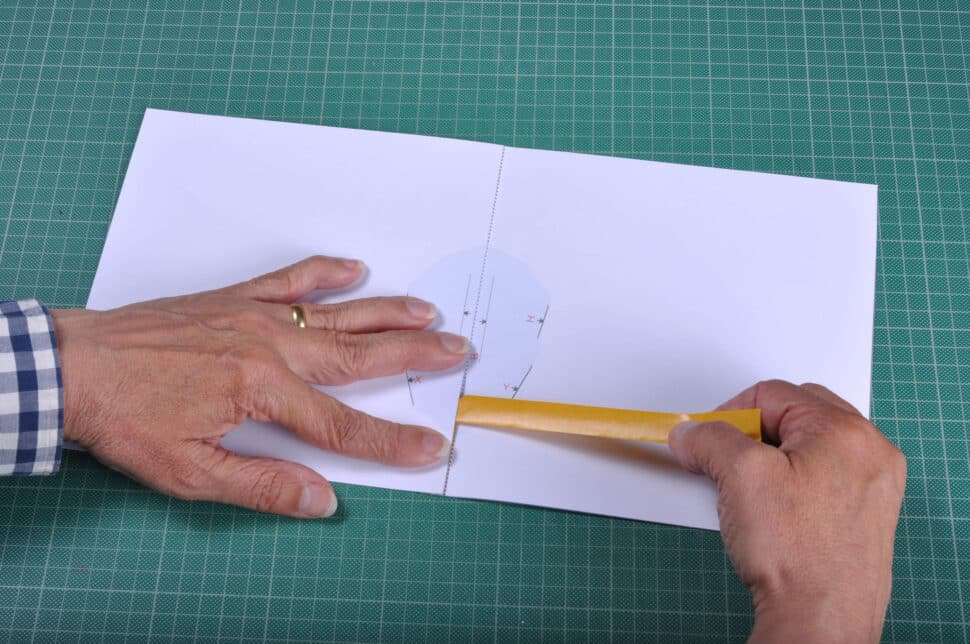
6. Making the Page
Line up the two square pieces by using the dotted line as a guide. Unpeel the double-sided tape on the right square piece and stick the left piece down. Note: you may have to re-cut slots once the two pieces are stuck together. If you are using our A3 print out, you can ignore this step.
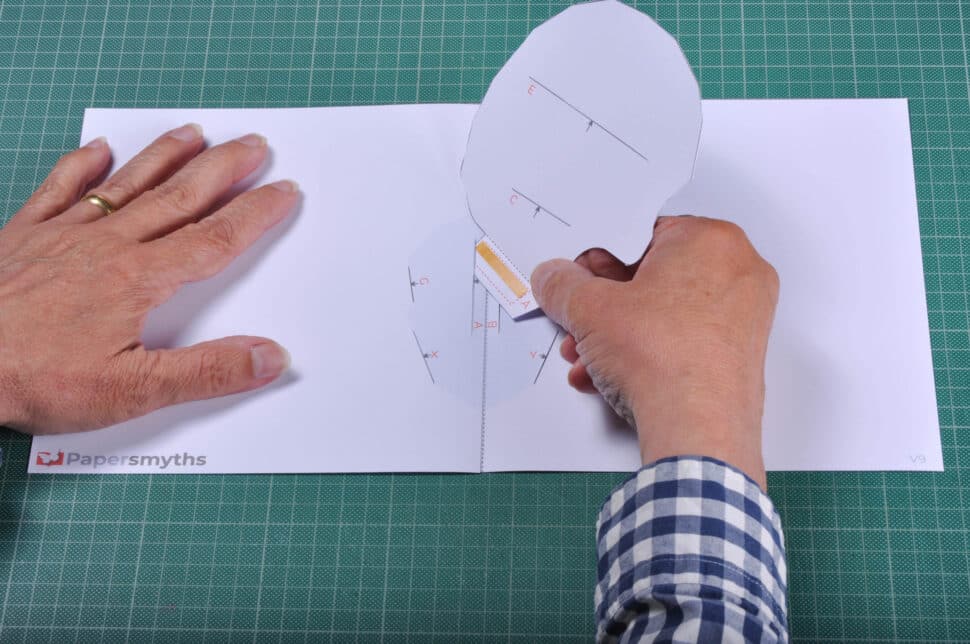
7. Attaching the Left and Right Vertical Supports
Insert tab A into slot A. Holding it in position, turn the page around so you can unpeel the double-sided tape and stick tab A to the reverse of the page. Repeat this with the right vertical support, using tab B and slot B.
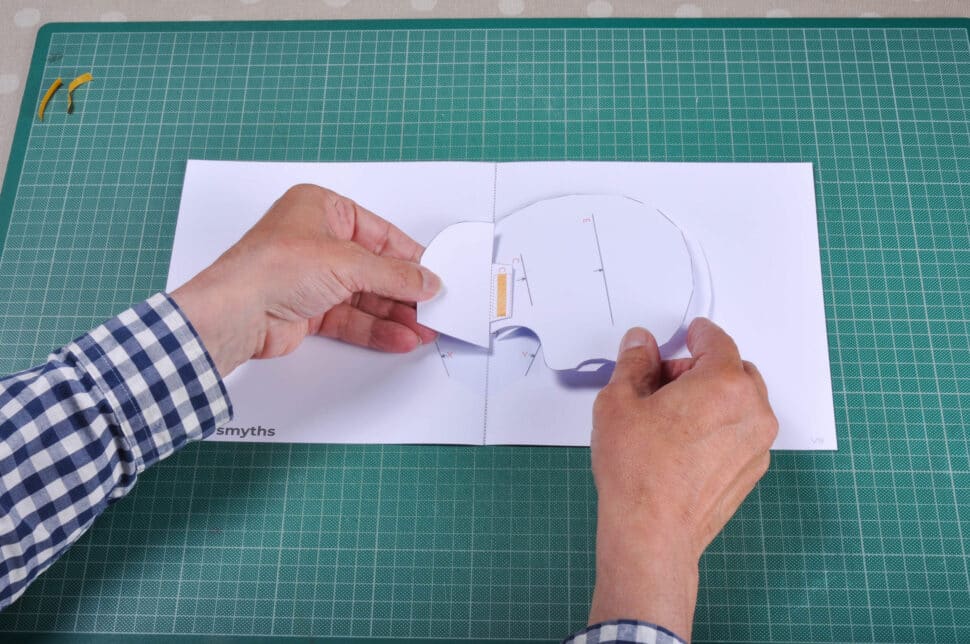
8. Attaching the Lower Struts
Find tab C on the lower left strut. Insert tab C into slot C. Unpeel the double-sided tape on Tab C and stick it to the reverse. Repeat this process with the lower right strut, using tab D and slot D.
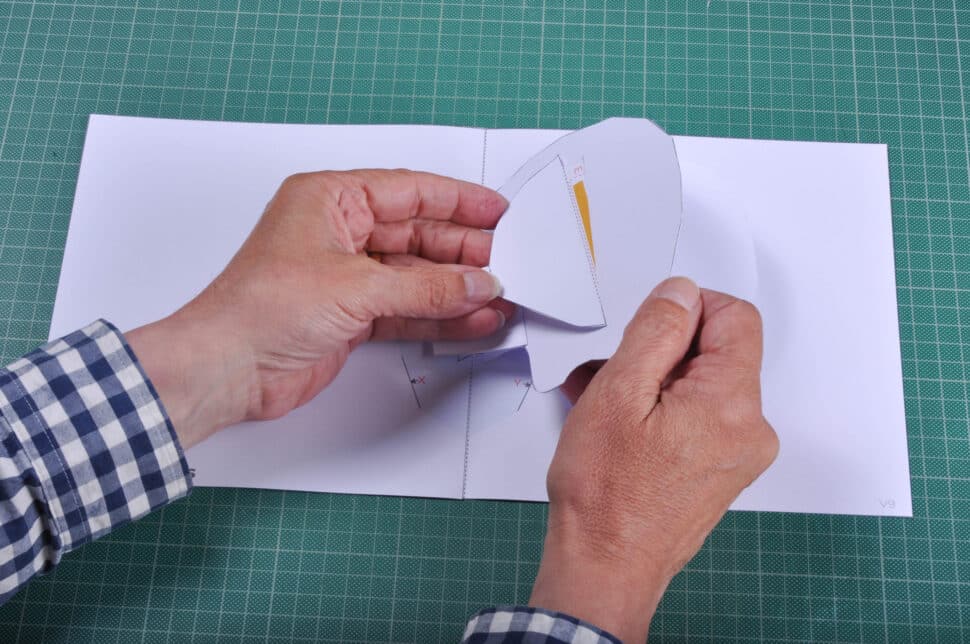
9. Attaching the Upper Struts
Find tab E on the upper left strut. Insert tab E it into slot E. Unpeel the double-sided tape and stick Tab E to the reverse of Slot E. Repeat this process with the upper right strut, using tab F and slot F.
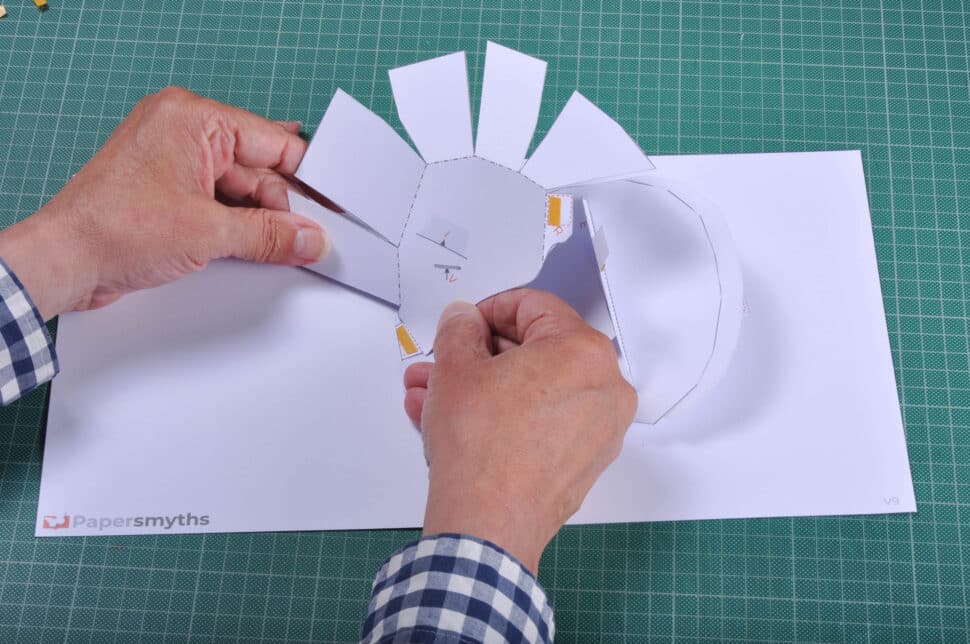
10. The Cranium Pieces
Find tab G on the left cranium piece. Insert tab G into slot G and stick onto the reverse. Repeat this on the other side with the right cranium piece, using tab H and slot H.
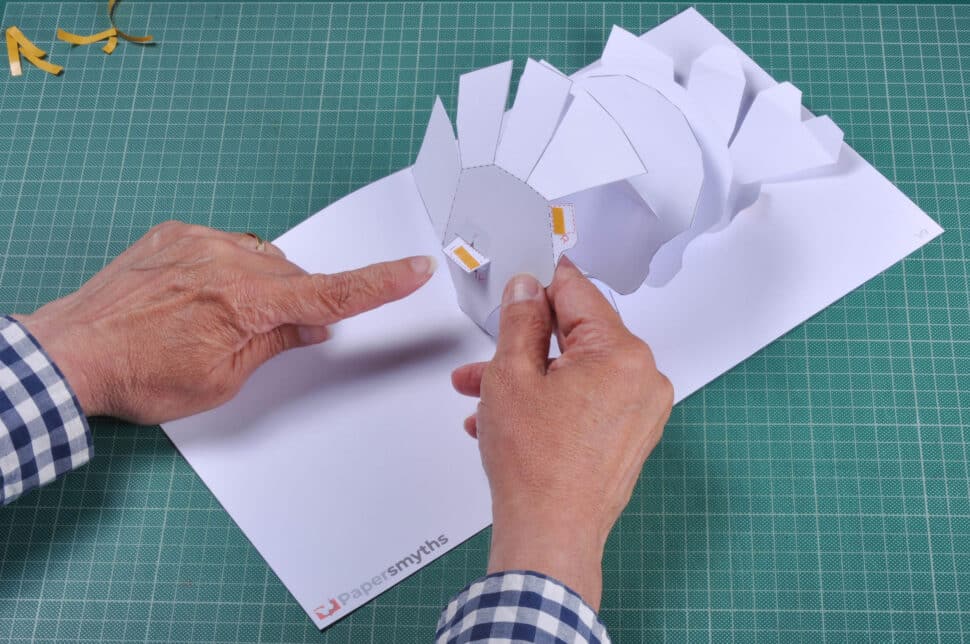
11. Attaching the Lower Struts to the Cranium Pieces
Find tab I on the lower left strut. Insert tab I into slot I and stick onto the reverse. Repeat this on the other side with the lower right strut, using tab J and slot J.
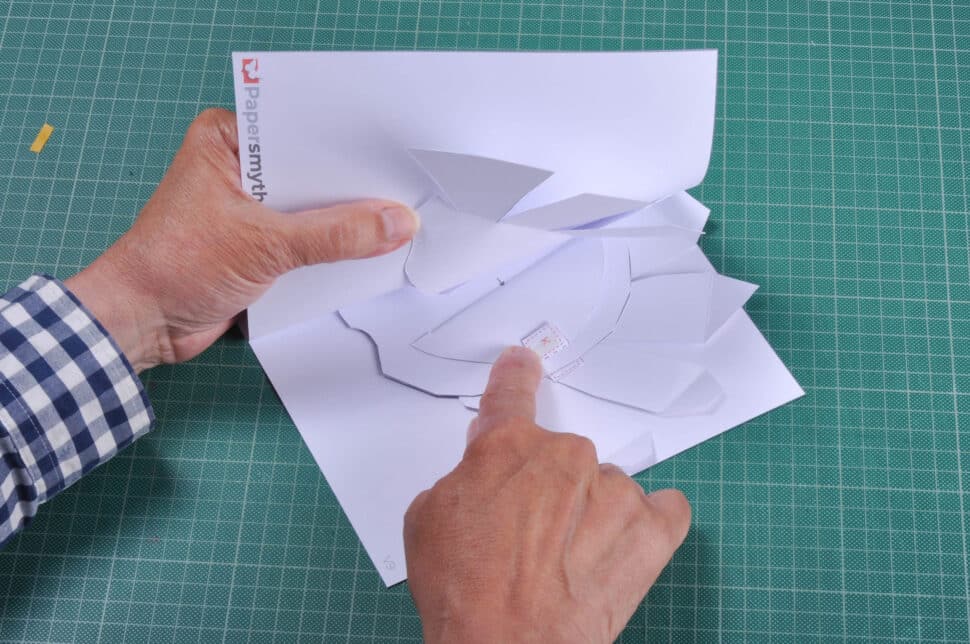
12. Attaching the Upper Struts to the Cranium Pieces
Find tab K on the upper left strut. To stick tab K in the correct position, fold the left cranium down onto the left page, then unpeel the tape on K and carefully fold down the left vertical support and the upper left strut onto the left cranium, with tab K folded under so the tape is facing down and press it down, flat. Repeat this on the right side with the right cranium flat on the right page and press down the upper right strut, with tab L folded under so the tape is facing down.
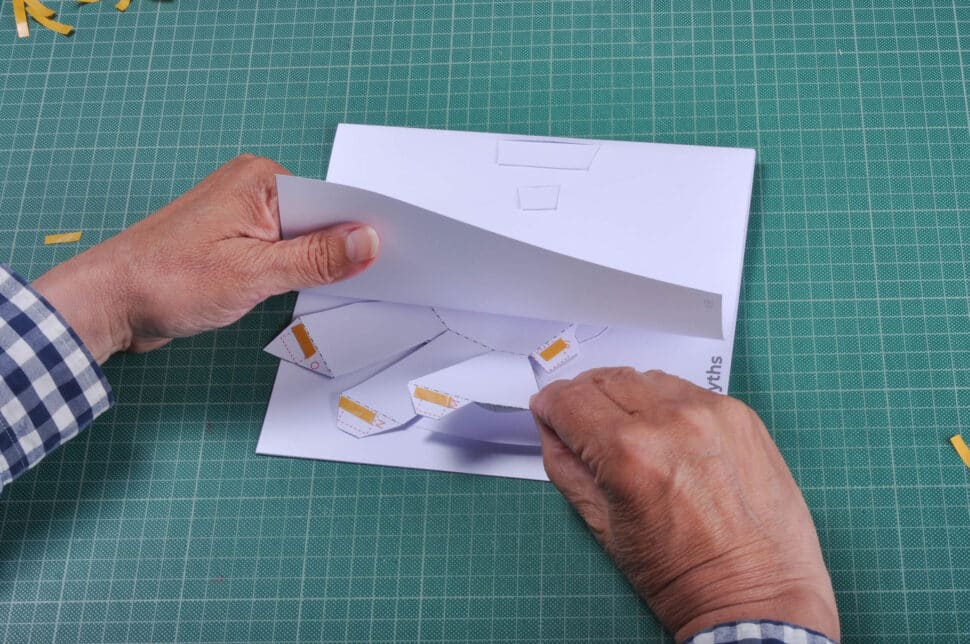
13. Attaching the Left and Right Cranium Pieces
Locate the tabs of double-sided tape on the right cranium piece. Put the book in its closed position and carefully lift up the page, as shown. One by one, unpeel the tape, fold the tabs over and stick them down.
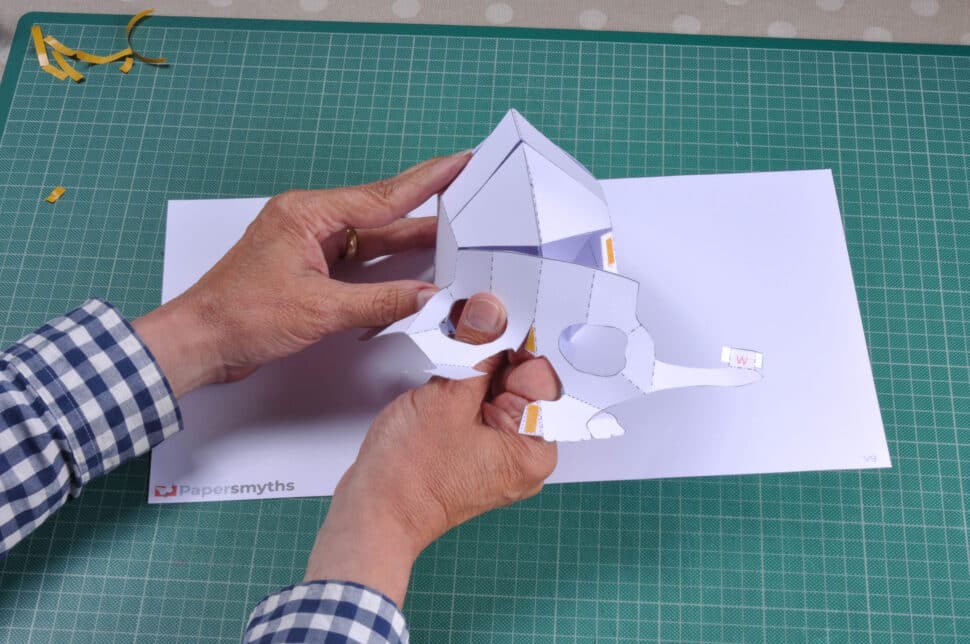
14. Attaching the Mask
Attach the mask to tabs R and G, lining up the corners.
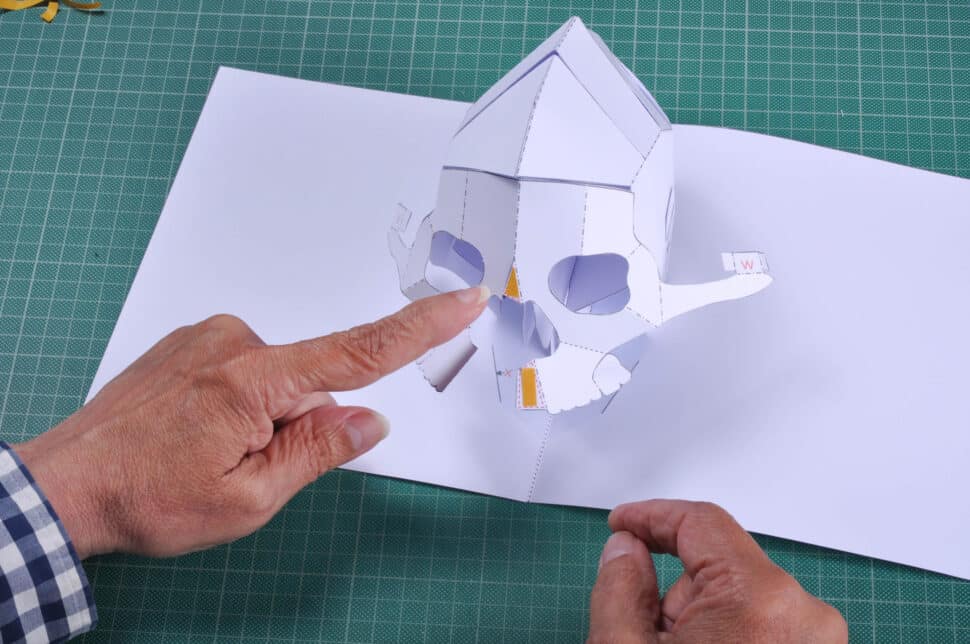
15. Tab T
Unpeel the double-sided tape on the tab T and stick it to the opposite side by lining up with the fold line.
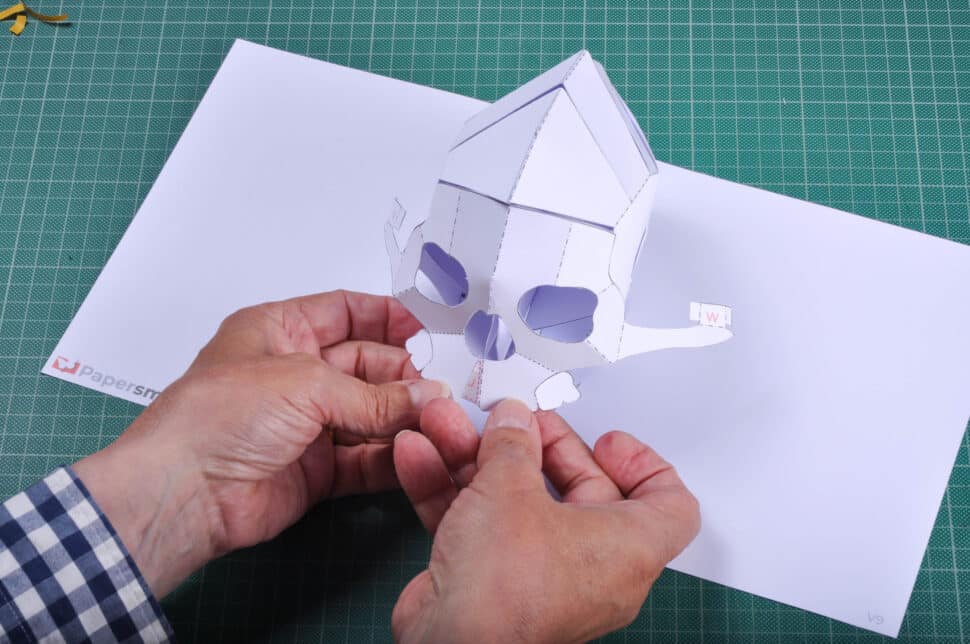
16. Tab U
Unpeel the double-sided tape on Tab U and stick it to the opposite side, lining up with the fold line.
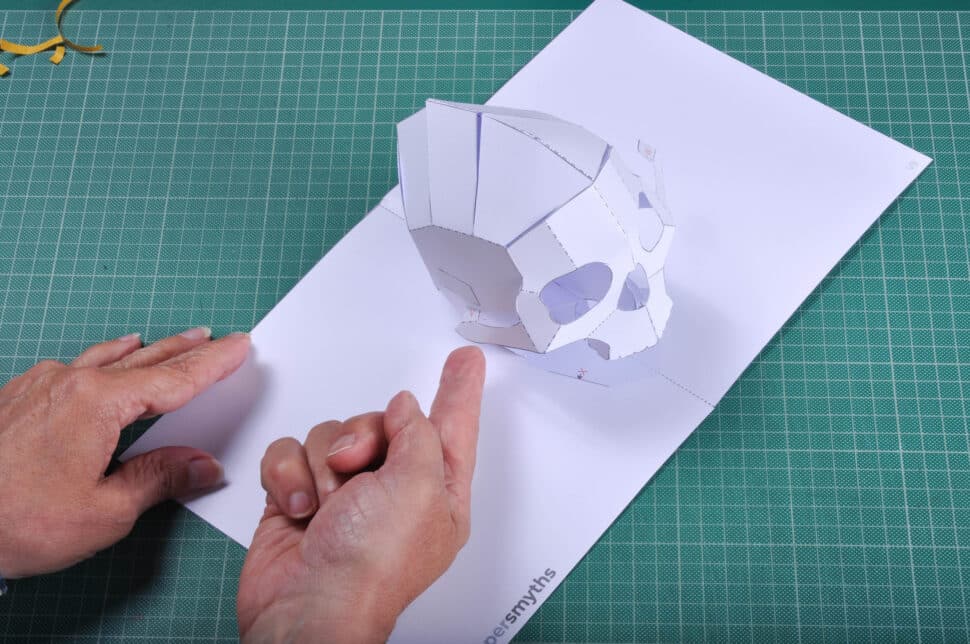
17. Tab V
With Tab V in its folded position, insert it in the slot on the left side of the skull, as shown. Once it is in, unfold the Tab V so it will not slip out. Repeat this on the other side with Tab W.
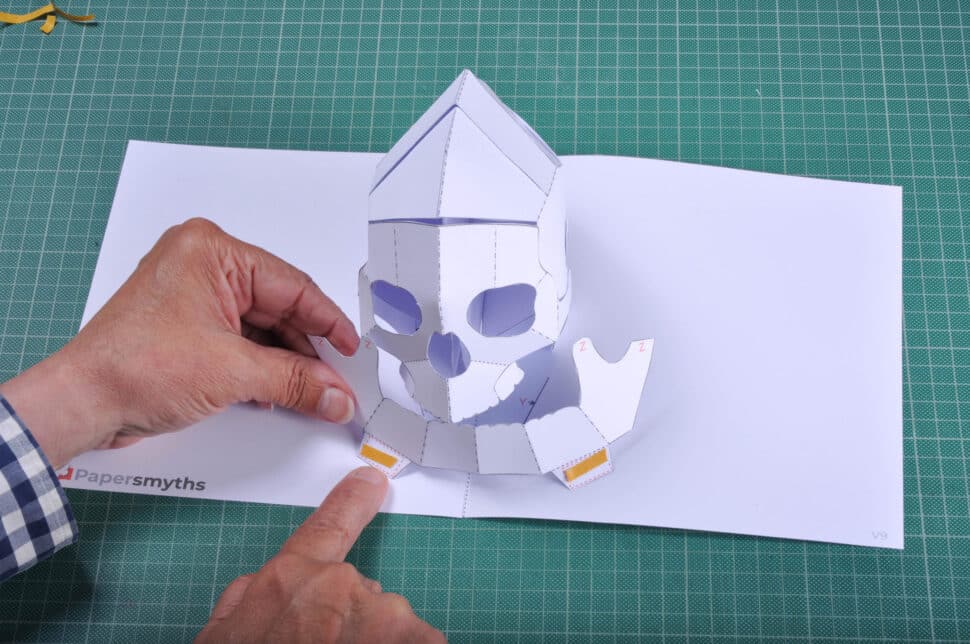
18. Attaching the Jaw
Find tab X on the jaw. Insert tab X into slot X on the page. Repeat this on the right side with tab Y.
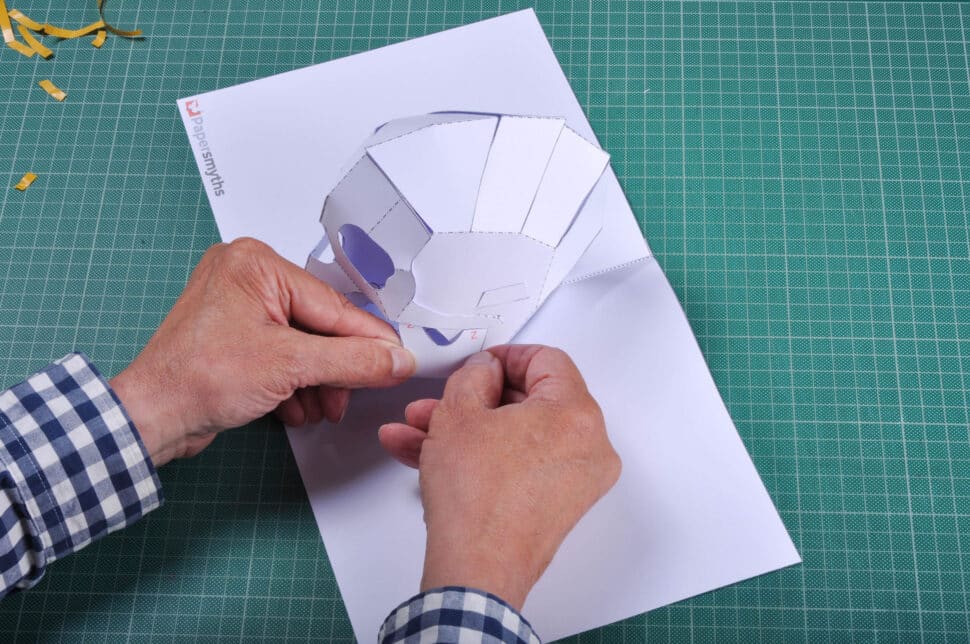
19. The Z Tabs
Find the two Z tabs on each side of the jaw. Simply tuck these under the long bit of the mask piece. Repeat on the other side.
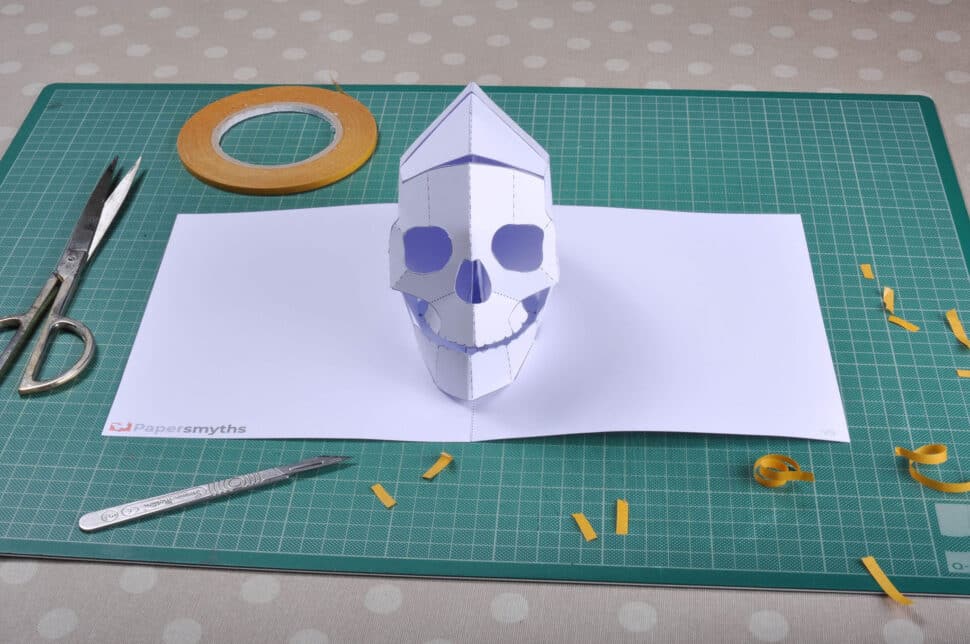
20. Finished!
Time to show off your scary skeleton by putting it up somewhere in your home, or you could teach your friends how to make a pop-up skull themselves! Also, have a look at the Alive book where we first used this design.
